How to make a super quick scrunchie with a tie

Not too long ago I bumped in to a family that I absolutely adore at a cafe. We didn’t have much time to catch up, but soon to be 13 year old Zelle said to her mom - when I turn 13 do you think Ms. Bonnie would come and do a special sewing lesson for me? Suzanne shot me a text - in the no pressure style - asking if I might consider…. I could not say no. When I had my brick and mortar school 2 years ago, Suzanne signed Zelle up for every workshop I offered and looped all of her friends in with them. They are dazzling people and brought so much life to my project. I dug in right away planning something special and new.
I needed something quick and very simple - but also chic and wearable. We aren’t 10 anymore so the little button eyes stuffies aren’t going to be very fun for these young ladies. At the same time, life has carried on and I wasn’t sure if the girls were still pulling out their machines to sew. We might have had some catching up to do.
Rifle Paper Co. had just released a new fabric collection. I remembered seeing some cute scrunchies on their feed and instantly knew what we would be making! This project was perfect for young, absolute beginner sewers. They handled each step perfectly and loved what they made. Suzanne sent me late night pics of Zelle post party making a small mountain of tie scrunchies. My heart exploded.
I don’t know if you have a young person that you want to spend some time with doing a special project, if you just want to make some quick, easy things, if you have some gifts to give or if you just want to bust your stash of remnants. This is a perfect 1 hour weekend project. Quick, easy and very cute. Let’s Sew!
First things first, download your pattern for free from the sewing patterns page of this website. Print your pattern. If you need help assembling a pdf pattern - pop quickly to my tutorial on how to assemble patterns before you start.

Let’s gather your supplies for this project.
sewing machine
thread
proper sewing needle
pins
marking tool
point turner
less than 1/4 yard of fabric
elastic 1/4” braided - 7” for thin hair, 8” for medium and 9” for thick hair
scissors & snips
seam ripper
hand stitching needle
safety pin
pattern assembled
Step 1: Print your pattern and cut your fabric.
Step 2: Thread your machine top and bottom and test your threading on a scrap piece of fabric.
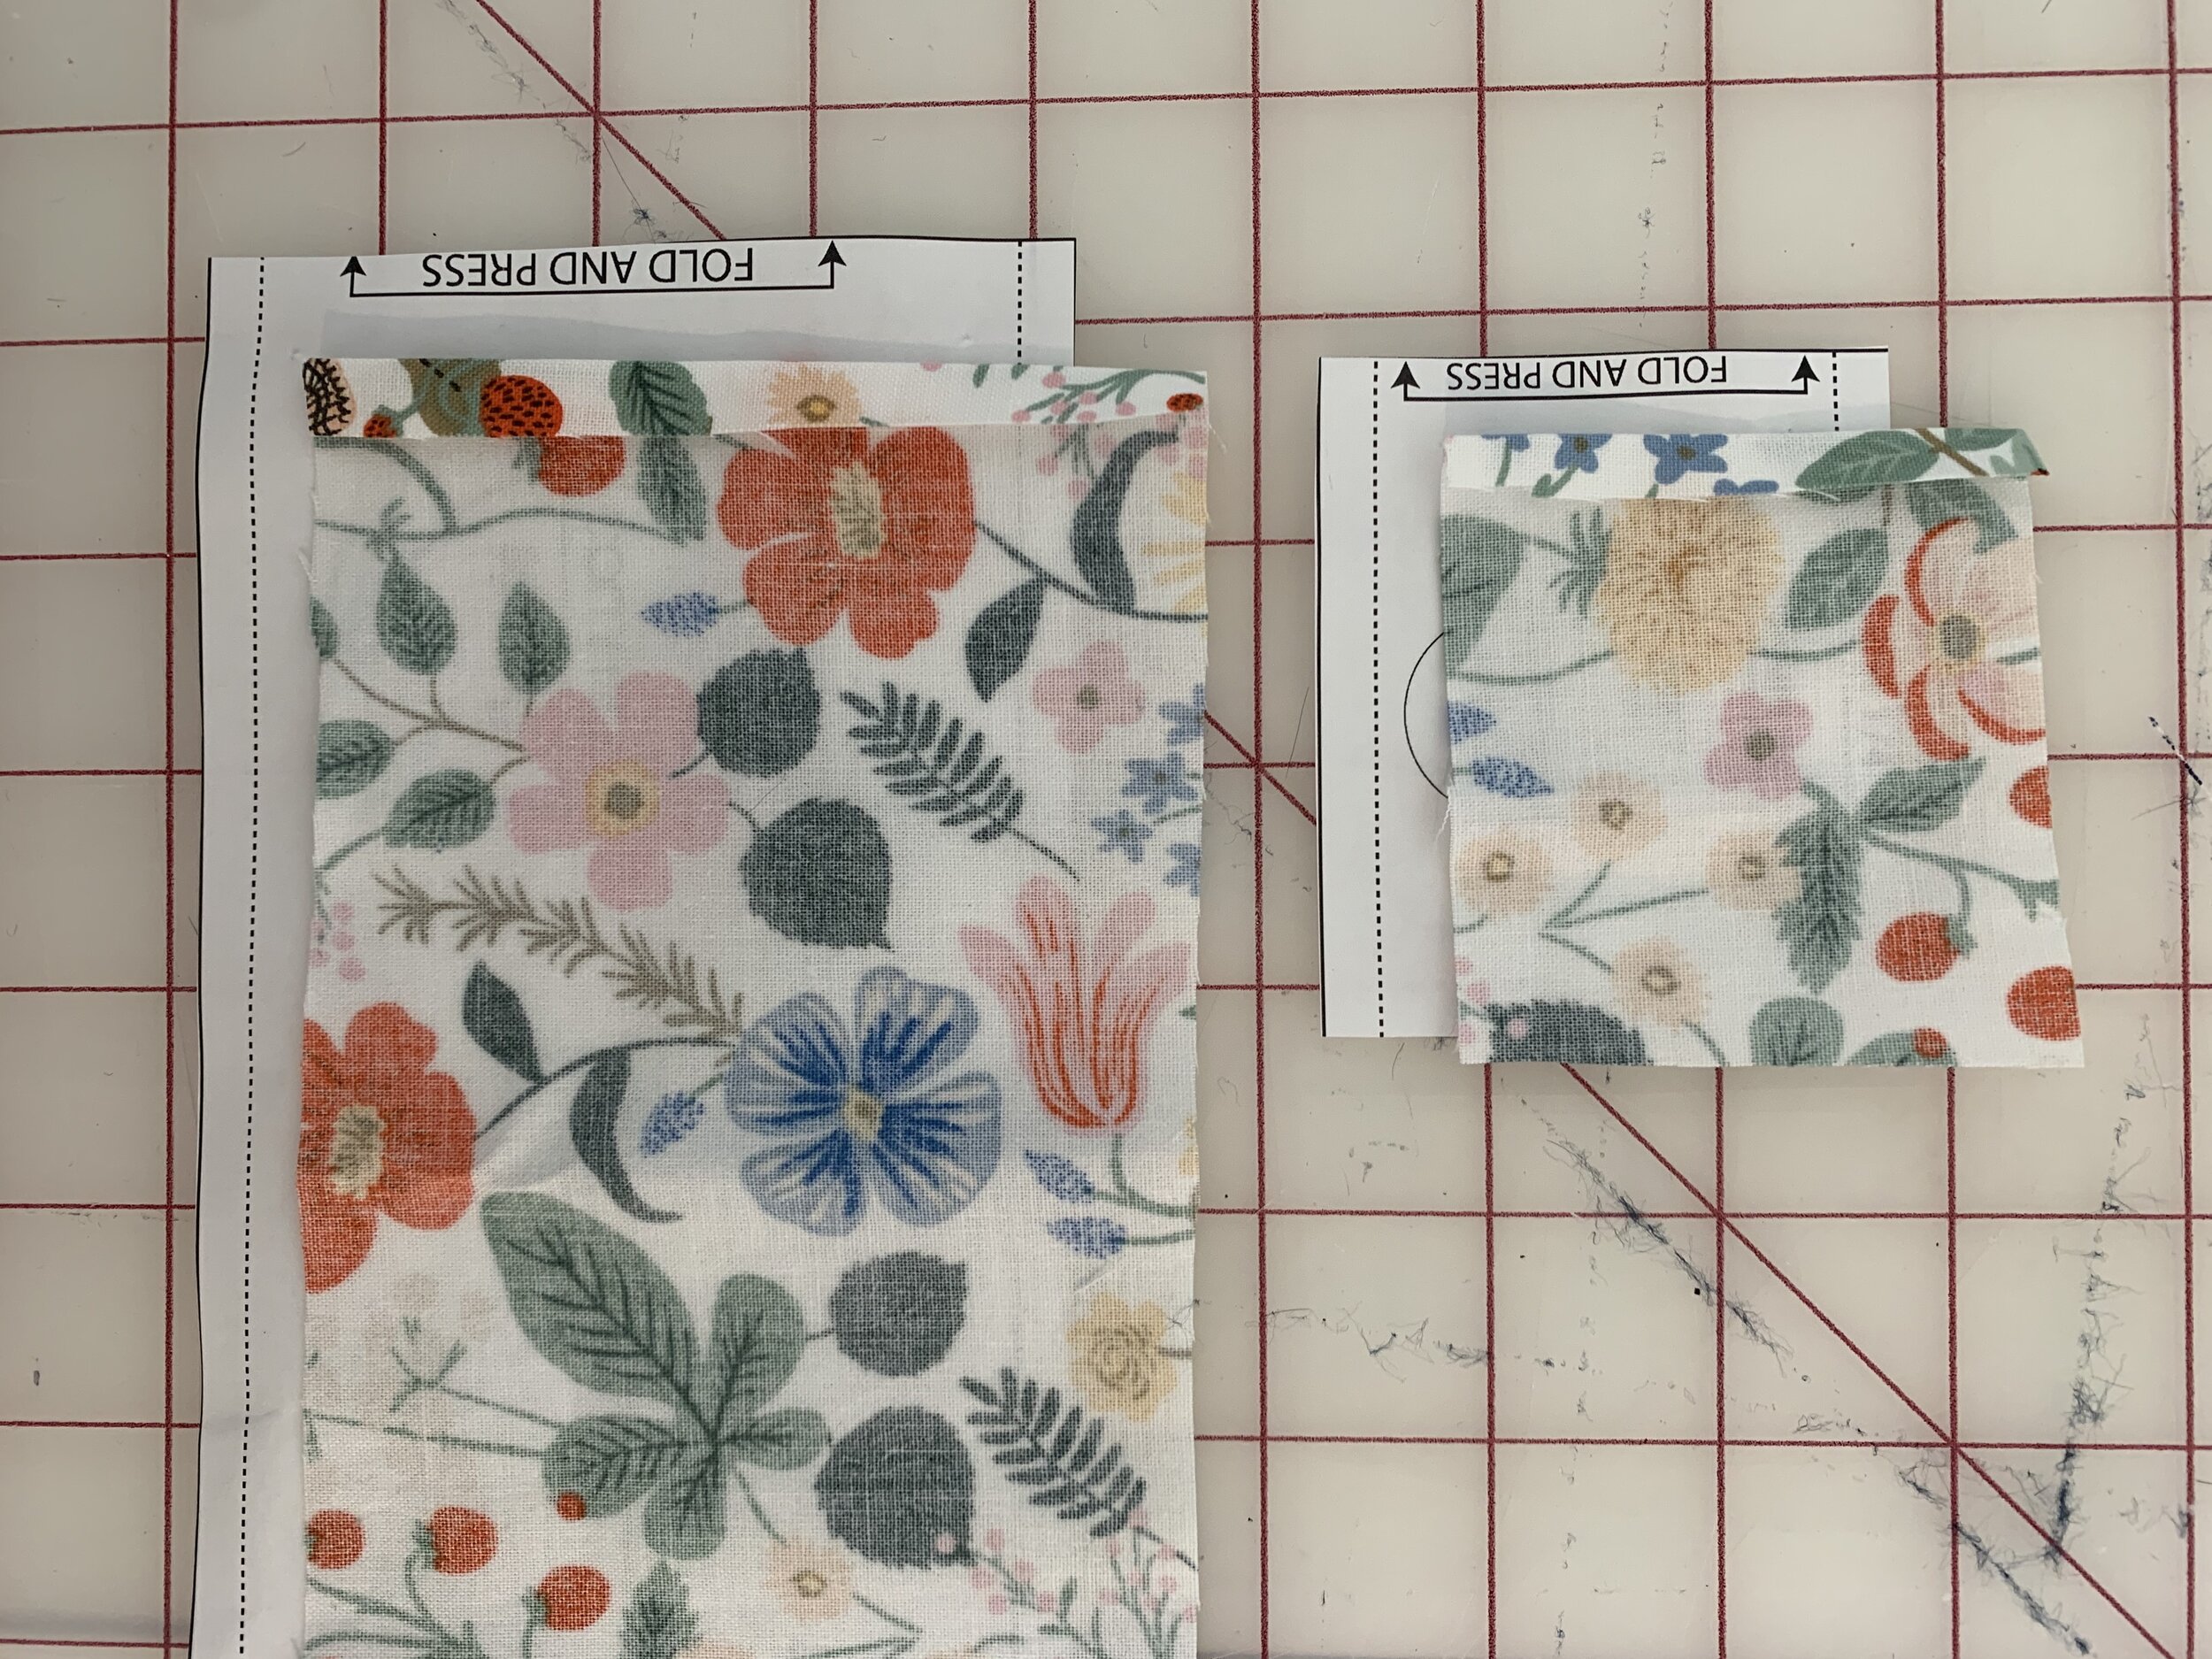
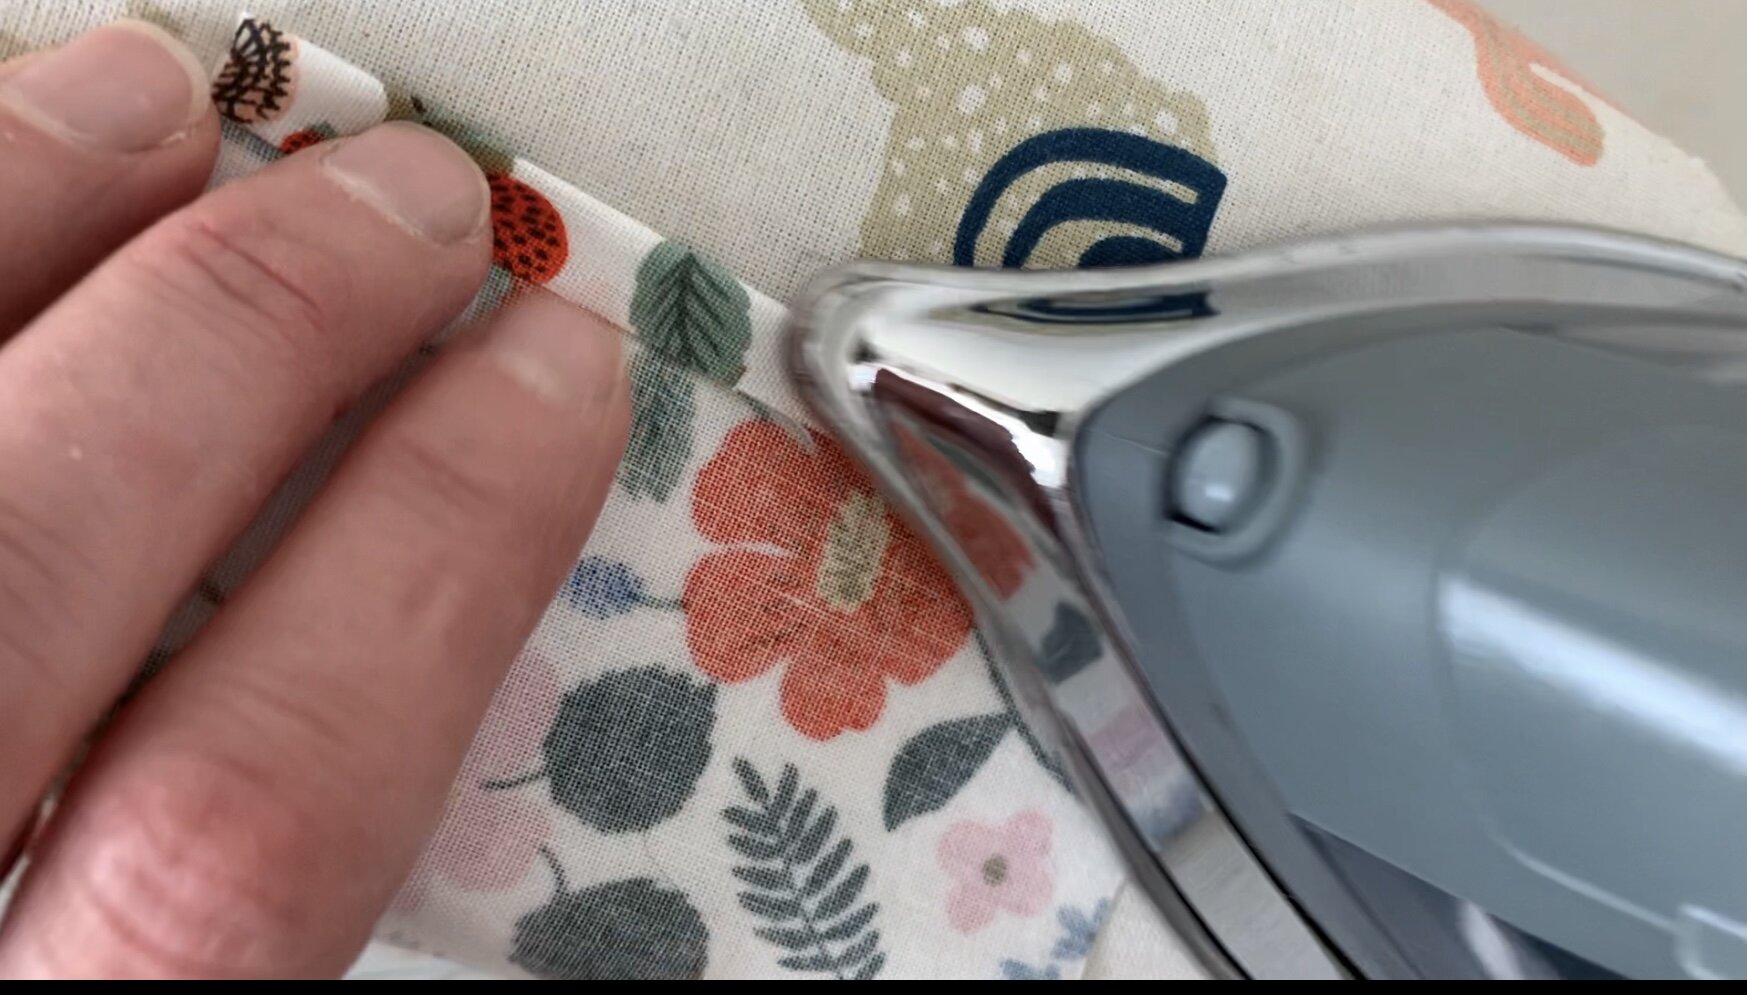
Step 3: Press your raw edges 1/4” on the scrunchie and on the knot only at the one side where it says ‘fold & press’.

Step 4: Fold your scrunchie and knot pieces in half lengthwise and sew 1/4” where marked.
Step 5: Using a safety pin, turn your scrunchie and knot right side out.

Step 6: Pin your tie in half lengthwise with the right sides together and sew - be sure to leave the part in the middle open from notch to notch.
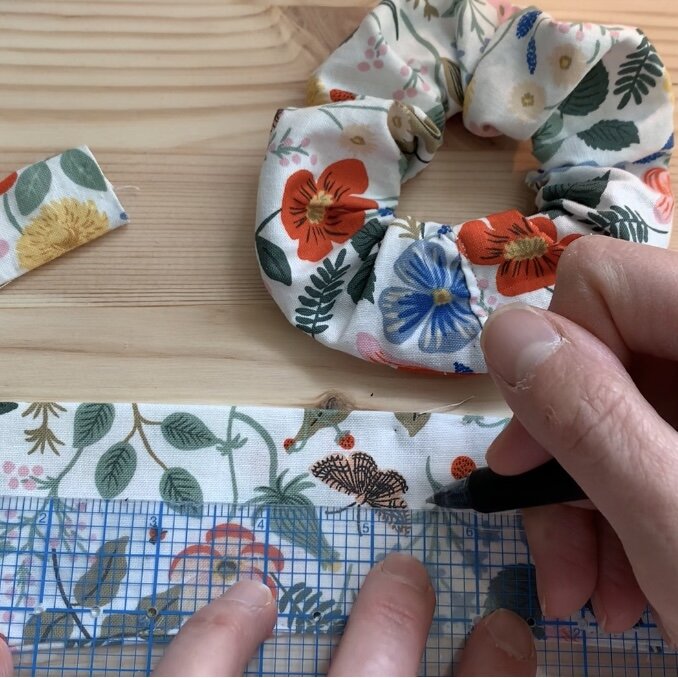
Step 7: Turn your tie right side out, press and topstitch the opening closed.
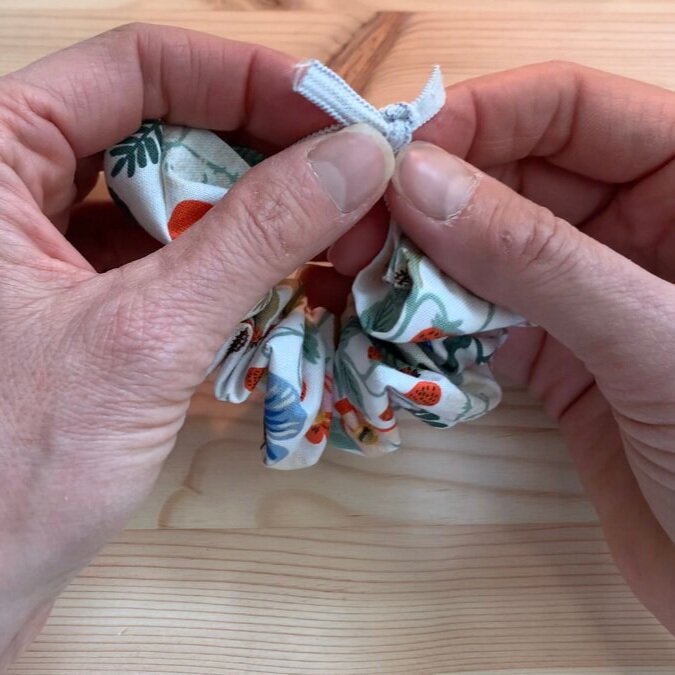
Step 8: Feed your elastic through your scrunchie and tie your elastic tightly with 1/2” tails only. If you have thin hair, you might trim your elastic by 1”.
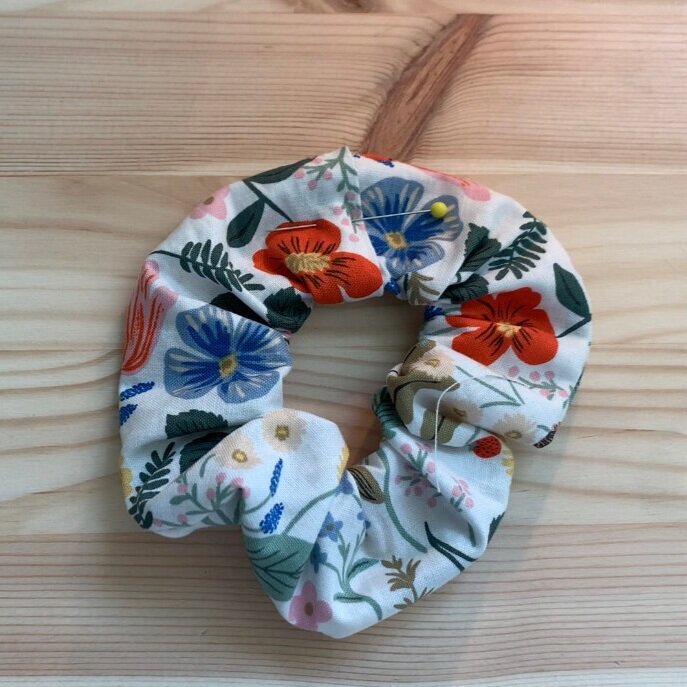
Step 9: Tuck the raw edge of the scrunchie inside of the folded edge and pin it. Topstitch it closed.
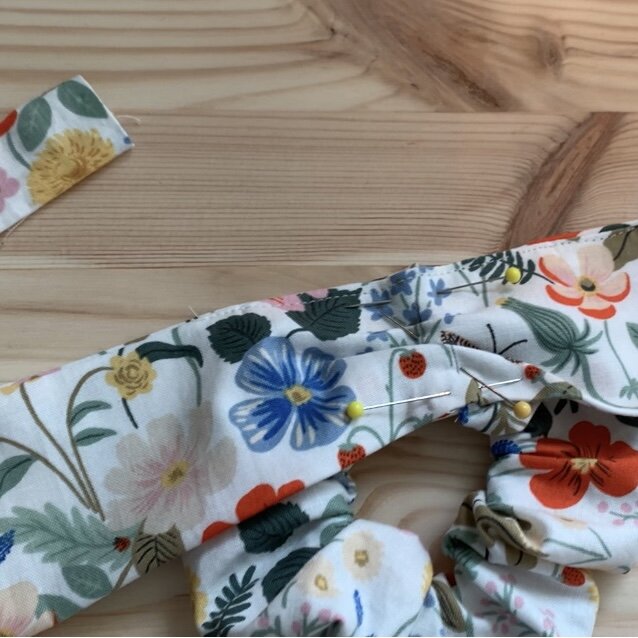
Step 10: Mark the center point of the tie and pin it to your scrunchie with the center of the tie sitting over the topstitching of the scrunchie. Pin the tie to the scrunchie and tack it in place.

Step 11: Wrap the knot around the scrunchie and tie and tuck the raw edge in to the passed edge. Hand stitch it closed.

Et voila! Congratulations on making this very cute scrunchie! Don’t forget to tag @commonsewing and #commonsewing when you share your makes. Thanks for joining me and happy sewing! -Bonnie